
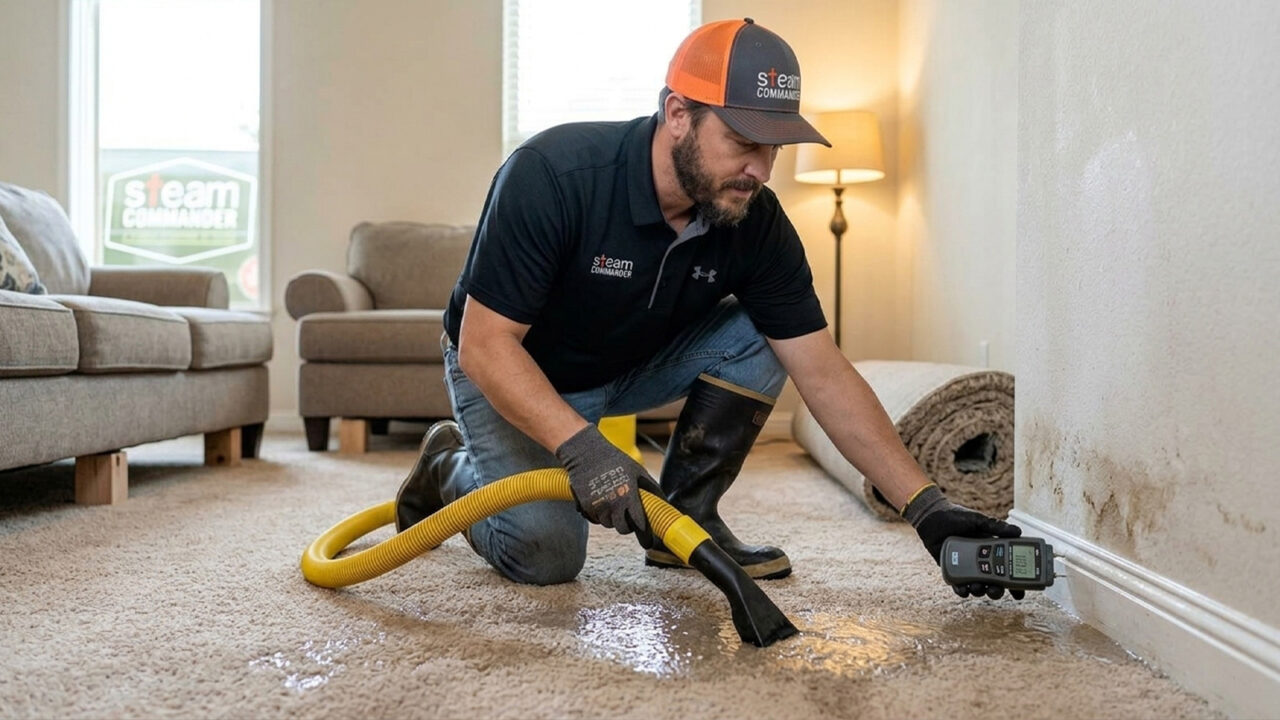
Water is spreading. Every second counts. But here’s the good news: there’s a known, ordered plan for this, and you can follow it right now. Shut off the main water supply at the shut-off valve. Cut power near any affected outlets or appliances. Then start pulling standing water right away. These first minutes decide a lot. Burst pipe water damage cleanup can stay a quick repair, or it can turn into a much bigger, moldy mess. The full steps for professional water damage restoration are exactly what the rest of this guide covers.
Maybe you’re a Cypress, Bridgeland, or Towne Lake homeowner staring at water spreading across your floor right now. If so, skip the long read. You need a plan. And you need to know when this stops being a mop-and-towel job and becomes a job for a licensed team. This guide walks through exactly that, from the first 60 seconds to the 72-hour mark. It also points you toward professional water damage restoration when the situation calls for it.
Key Takeaways
- Shut off the main water shutoff valve first. Cut power at the breaker if water is near outlets. Do this before you touch anything else.
- Mold growth can start within 24 to 48 hours of water contact. Houston’s humidity makes that clock move even faster.
- Photograph every affected area and log moisture readings before cleanup starts. Adjusters expect timestamped proof for your insurance claim.
- Slab leaks and multi-room flooding require professional water damage assessment and restoration. Even smaller water incidents can cause hidden moisture damage.
- IICRC-certified technicians sort water damage into Category 1, 2, or 3 water. That classification changes your entire cleanup plan.
The First 60 Seconds: Shut Off Water and Power
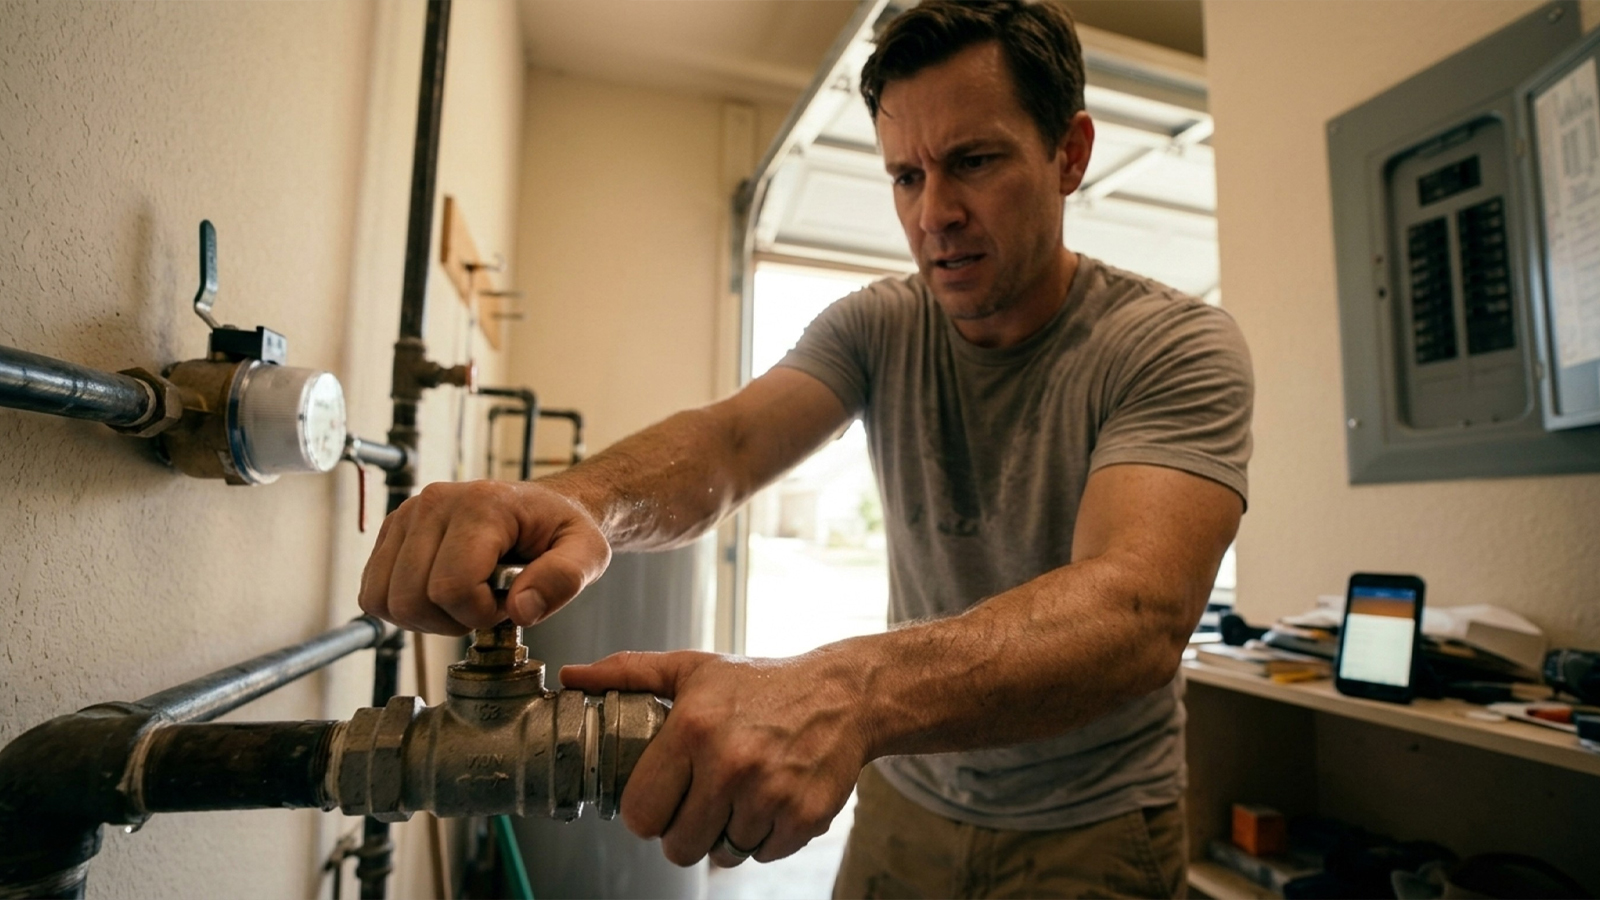
Stop the water at its source. That’s the first move. Every second spent hunting for towels instead of the valve means more flooding, more warped floor, more soaked drywall.
Locating the Main Water Shutoff Valve
Your main water shutoff valve usually sits near the water meter, in a garage, or wherever the main line enters the house. Turn it clockwise until it stops. This cuts water to the entire home. It’s your fastest way to kill pressure and stop a burst pipe from spreading further. In many newer Bridgeland and Towne Lake homes, this valve sits in a predictable spot near the garage or utility room. Older homes scattered through the surrounding Cypress area sometimes hide it in a crawl space or an odd corner. Know your home’s setup before an emergency happens, not during one.
Using Individual Fixture Shutoffs
Is the leak limited to one fixture? A supply line under a sink, maybe, or behind a toilet? You may not need the main shutoff at all. Look for a small valve at the base of the fixture and turn it clockwise. Water stops to that one line while the rest of the house runs normally. Knowing where these shutoffs are can stop a small fixture leak from becoming a full-blown pipe burst emergency. That kind of awareness can save you from costly, drawn-out burst pipe repairs down the line.
When to Cut Power at the Breaker Panel
Is there standing water anywhere near outlets, appliances, or wiring? Cut power at the circuit breaker panel first, before anything else. Water and electricity together are dangerous, and no amount of cleanup is worth that risk. Not sure which breaker controls the affected area? Shut off the main breaker for the whole house. If you’re unsure about any of this, it’s completely reasonable to call someone and ask before you touch a panel. Steam Commander’s team is available 24/7 at (832) 813-2175 if you want a second opinion before you act.
Step-by-Step Cleanup Timeline: From Minute 1 to Hour 72
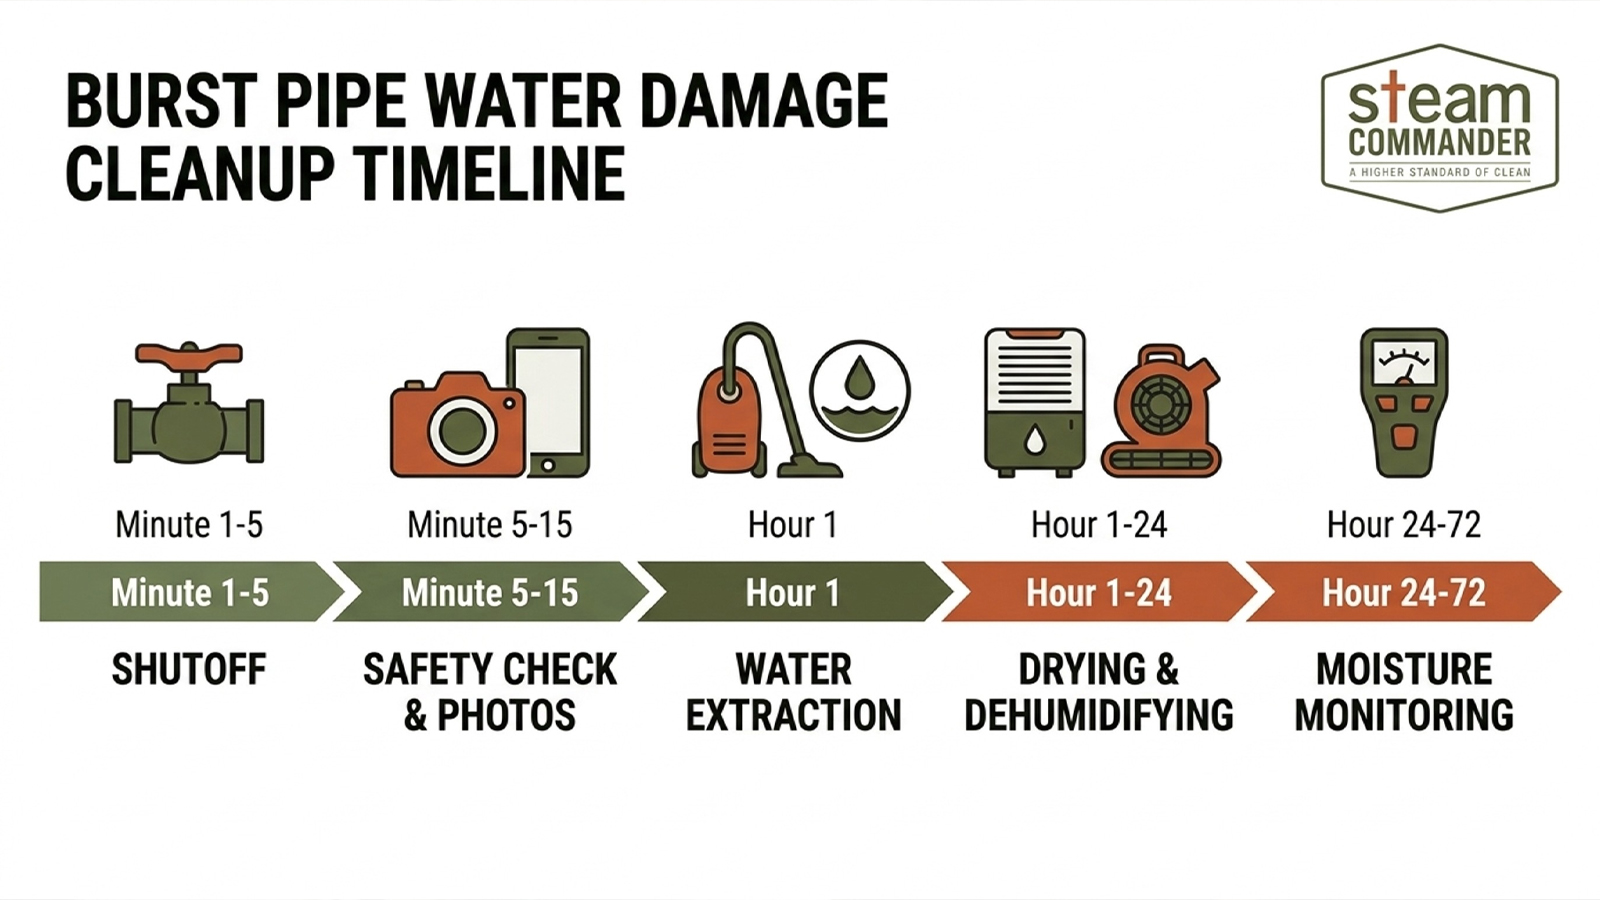
Think of burst pipe water damage cleanup as a clock. Each stage has a job. Skip ahead, and it usually costs you later.
Minute 1-15: Shutoff, Safety Check, and Photos
Minutes one through five: shut off the main water shutoff valve, and the breaker if needed. Minutes five through fifteen: check the area for structural sagging or exposed wires. Then photograph the affected area, including the leak source and any standing water, before you touch anything.
Hour 1: Extracting Standing Water
Within the first hour, start removing standing water with a wet/dry shop vacuum. This one step limits long-term damage more than almost anything else you can do. It also helps stop water from soaking deeper into subfloor, baseboards, and drywall the longer it sits.
Hour 1-72: Drying, Dehumidifying, and Monitoring
Hours one through twenty-four: run a dehumidifier and fans to pull moisture out of the air and off surfaces. This keeps moisture from settling deeper into flooring and drywall, and it helps stop the prolonged dampness that leads to mold growth. Hours twenty-four through seventy-two: check the affected area with a moisture meter. Are readings still high past 24 hours? Wet drywall and flooring often need to be cut out, not just dried in place. Our emergency water mitigation process walks through exactly what our crews check for during this window if you want to see how it’s done at a professional level.
Documenting Damage for Your Insurance Claim
Good documentation turns a stressful insurance claim into a fast one, and it’s worth doing right even if you’re exhausted and just want the water gone.
What Photos and Video Adjusters Expect
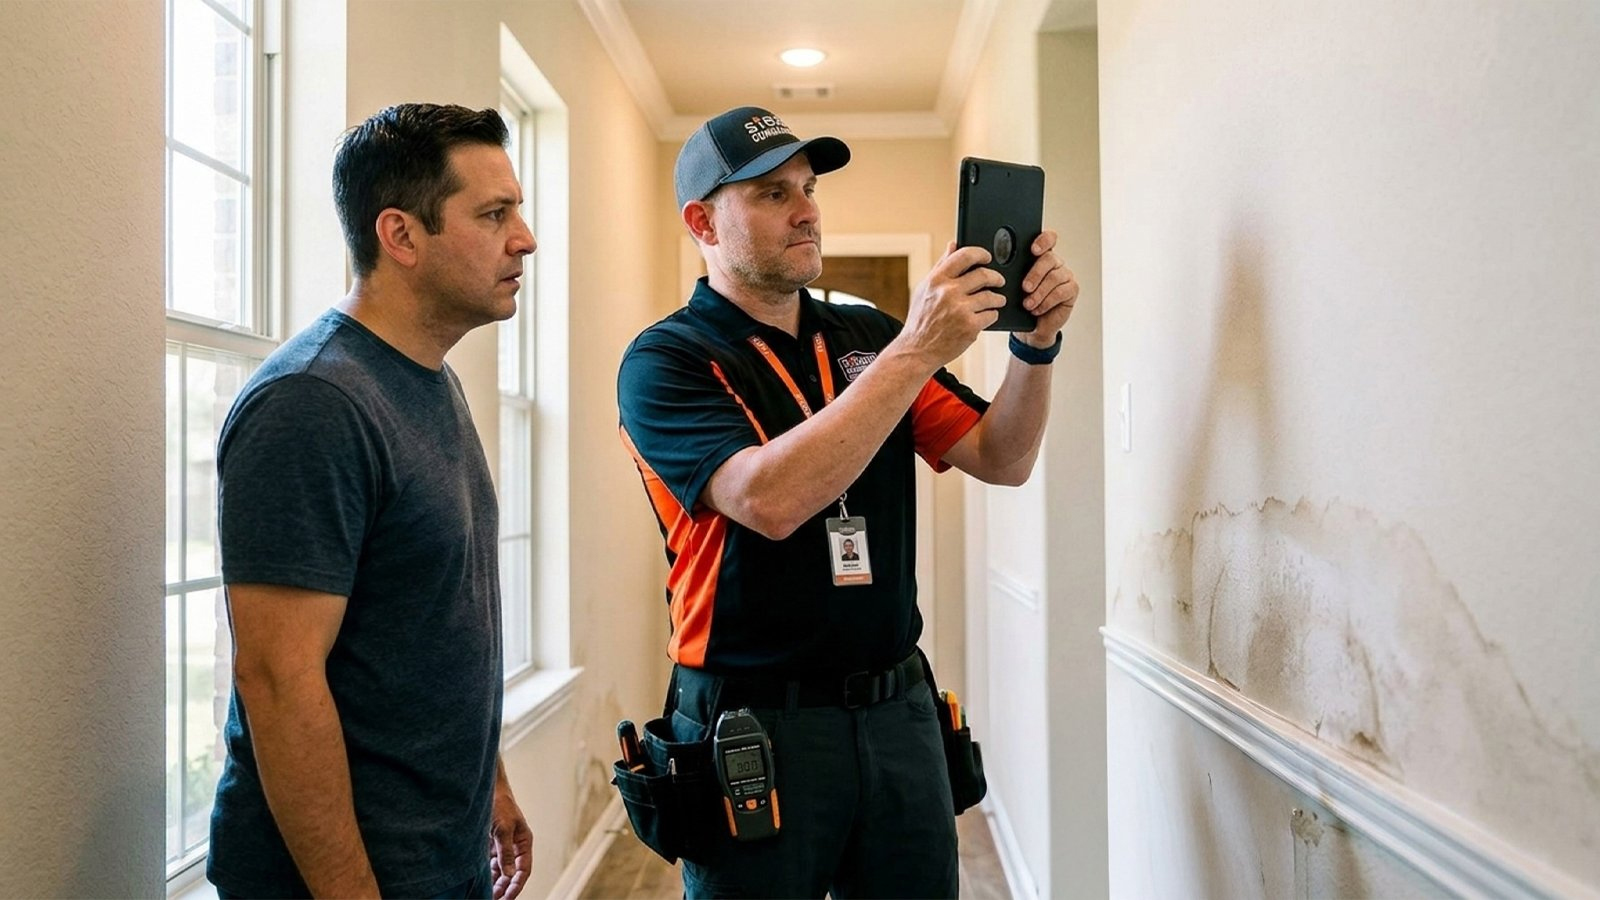
Take clear photos and video of the leak source, standing water depth, soaked flooring and drywall, and any damaged appliance or furniture. Do this before repair work starts. Homeowners insurance adjusters generally want dated, timestamped evidence along with moisture readings, not just a description of what happened. Most policies cover water damage from a burst pipe under a “sudden and accidental” standard. Damage from a slow, ongoing leak is often excluded [1][3]. Whether your policy actually covers your situation depends on the exact wording. That’s why it helps to review whether homeowners insurance covers a burst pipe in more detail.
Common Insurance Claim Mistakes to Avoid
The most common mistake: starting pipe repair, or tossing ruined materials, before documentation is complete. Once damaged flooring or drywall is gone, so is your best evidence. Second mistake: skipping moisture readings entirely. Adjusters increasingly expect calibrated data, not guesswork, to back up the claimed extent of structural damage.
Category 1 vs 2 vs 3 Water: Why the IICRC S500 Classification Changes Your Cleanup Plan
Not all water damage gets treated the same way. The difference matters for both cost and safety.
Category 1: Clean Water
Category 1 water comes from a clean source, like a supply line or water heater failure. Under the IICRC S500 standard, it’s the least hazardous type. It often allows drywall and insulation to be dried in place rather than removed [4][5].
Category 2 and 3: Gray and Black Water Risks
Category 2, gray water, includes overflow from a washing machine or dishwasher, with some contamination involved. Category 3, black water, includes sewage backups, and it requires full removal of affected drywall, insulation, and flooring. Here’s what homeowners miss: clean Category 1 water left standing for 24 to 48 hours can turn into Category 2. This happens fast in Houston’s humid climate, which sits between 75 and 90 percent for much of the year. Older homes in the Cypress area with aging galvanized plumbing are especially prone to leaks that worsen quickly once a slow drip becomes a full pipe burst. Figuring out which category you’re dealing with isn’t a DIY judgment call. It’s a determination a licensed plumber or restoration technician makes, and it shapes everything from cost to insurance scrutiny. For a deeper breakdown of how mitigation differs from full restoration, see water mitigation vs. water damage restoration.
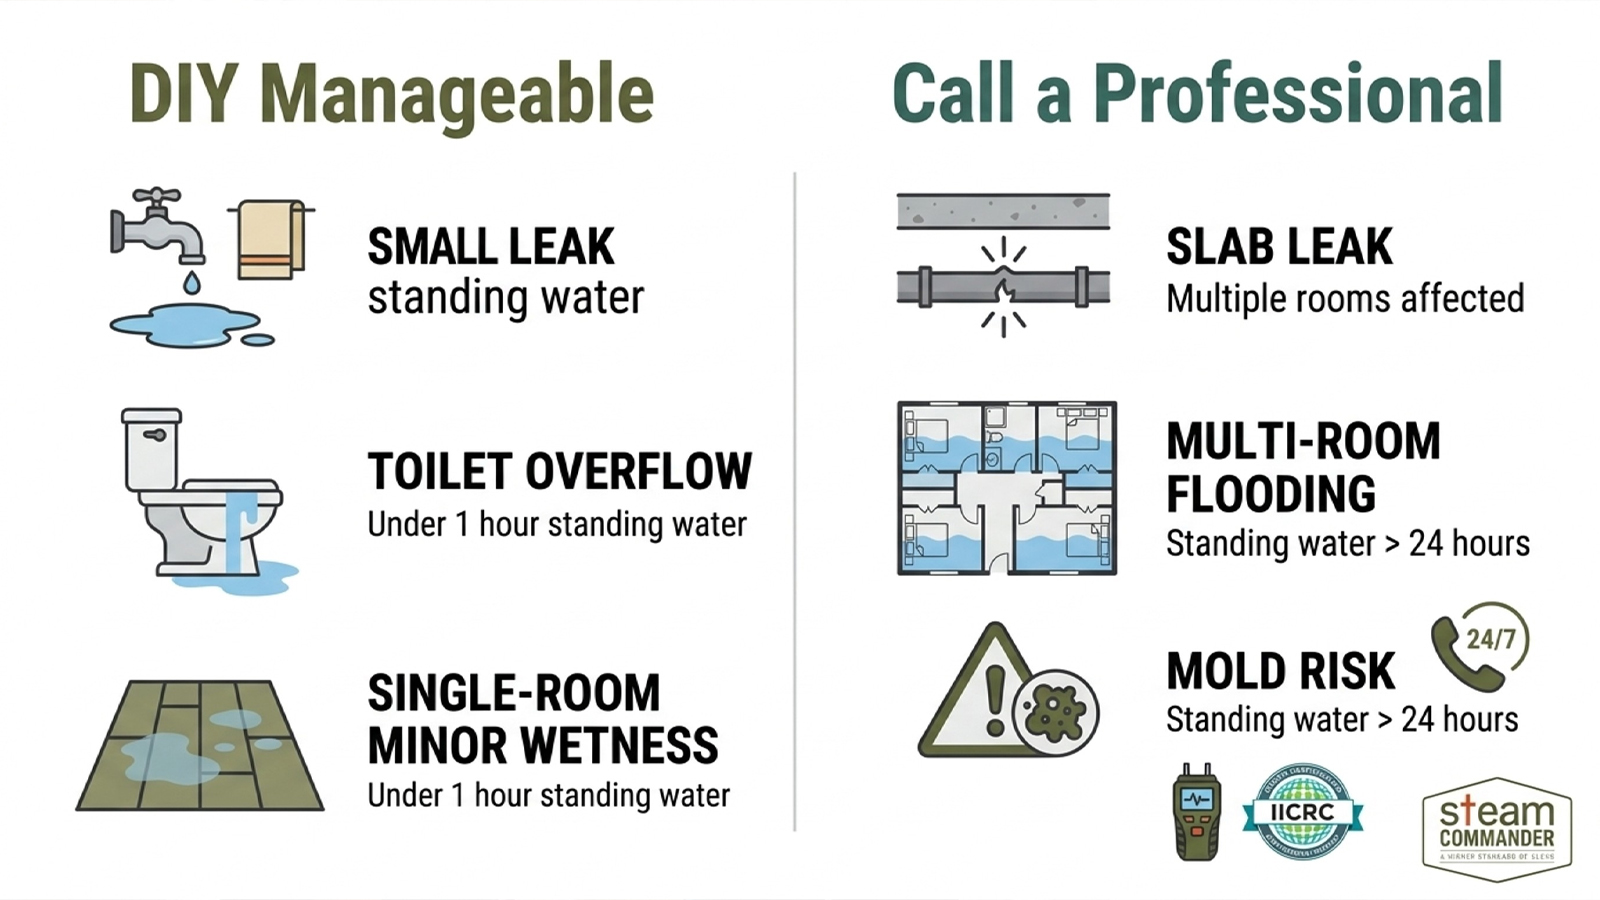
DIY Cleanup vs. When to Call a Professional Water Damage Restoration Company
Some situations are manageable with a shop vacuum and a free weekend. Others aren’t. Know the difference before you guess wrong.
| Situation | DIY-Appropriate? | Recommended Action |
| Small leak under sink | Yes | Shut off fixture valve, mop up, monitor for 24 hours |
| Toilet overflow (clean water) | Yes | Extract with towels or shop vac, dry area, disinfect surface |
| Slab leak | No | Call an emergency plumber and a restoration company immediately |
| Burst pipe flooding multiple rooms | No | Shut off main valve, call a restoration crew for extraction and drying |
What a Professional Restoration Visit Includes
A professional water damage restoration visit typically starts with a fast arrival window. Next comes moisture mapping across every affected floor, wall, and piece of furniture. Industrial dehumidifiers and air movers go to work, helping stop mold from taking hold in wall cavities and subflooring that hand tools can’t fully dry. This equipment-driven approach also helps prevent secondary damage, like warped subflooring or lingering odors, that shows up weeks after a surface-level dry-out. The job wraps with a signed moisture certification report you hand directly to your adjuster. One Cypress family we worked with had a supply line fail behind a kitchen wall overnight. By the time we arrived, water had reached two rooms. Extraction and structural drying wrapped within three days, and moisture readings confirmed the space was dry before any drywall repair began. You can read more about how that certification process works on our structural drying process page.
Typical Cypress-Area Cost Factors
- Square footage and number of rooms affected
- Category of water (1, 2, or 3) per IICRC S500
- Number of drying days needed to reach moisture certification
- Whether flooring or drywall must be removed and replaced
Are you facing anything close to the right column of that table? This is when to call an emergency plumber alongside a restoration company, not instead of one. Plumbers handle the pipe repairs themselves. In cases involving a slab leak or multi-room flooding, burst pipe repairs often need to happen alongside restoration work rather than after it. A restoration crew handles extraction, drying, and documentation, and it’s worth understanding how mold actually takes hold in these situations before you decide how urgent your timeline needs to be.
Conclusion: Acting Fast Protects Your Cypress Home
Order matters more than any single step on its own. Shut off water and power. Extract standing water. Document everything. Then dry and monitor until moisture readings confirm the job is done. That sequence separates a manageable repair from a water-damaged home facing mold growth weeks later. Acting fast within the first 24 to 48 hours protects both your home and your insurance claim. It’s one of the most reliable ways to help prevent mold from taking root in walls, flooring, and furniture. It’s the single best thing any homeowner can do to stop long-term structural damage.
You now know the sequence, you know the mold clock, and you know exactly where the DIY line sits. If your situation goes beyond a small leak, it doesn’t hurt to have a licensed team take a look. Steam Commander answers calls day and night at (832) 813-2175, and even if you’re just weighing your options, we’re glad to talk through what you’re seeing. Cypress, Bridgeland, and Towne Lake homeowners count on us for fast arrival, IICRC-certified technicians, and moisture documentation built for your adjuster, ready the moment you need it.
FAQ
How do you stop a burst pipe fast?
Stop a burst pipe fast by shutting off the main water shutoff valve right away. This cuts water pressure to the entire home. Once the water stops, call a licensed plumber to handle the actual pipe repair. The shutoff only buys you time. It’s not a fix.
How long does it take for mold to grow after water damage?
Mold can begin growing within 24 to 48 hours of water damage under the right conditions. Houston’s humidity, often between 75 and 90 percent, speeds that up. That’s why only certified moisture meter readings can confirm a space is truly dry. Fast extraction is one of the best ways to stop mold from getting a foothold in walls and flooring.
Will homeowners insurance cover a burst pipe?
Homeowners insurance generally covers a burst pipe when the damage is sudden and accidental, rather than the result of a long-term, gradual leak [1][2]. Documentation from a licensed restoration company, including dated photos and moisture readings, improves your odds of a smooth insurance claim approval.
How do I dry out my house after a pipe bursts?
Dry out your house by extracting standing water first. Then run dehumidifiers and fans across the affected floor and walls for at least 24 hours. Professional crews add industrial-grade drying equipment and moisture meter checks that household tools simply can’t match.
Should I turn off electricity if a pipe bursts?
Yes. Turn off electricity at the breaker panel if standing water is anywhere near outlets, appliances, or wiring. A professional restoration technician can further check electrical systems for safety before full water extraction begins.
How much does water damage restoration cost after a burst pipe?
Water damage restoration cost depends on square footage affected, the category of water involved, and how many drying days are needed to reach certification. Call for a free assessment to get an accurate number for your specific situation.
What causes pipes to burst?
Pipes burst from frozen pipes during a cold snap, aging galvanized plumbing in older homes, and high water pressure that weakens the pipe over time. A licensed plumber paired with a restoration company can handle both the immediate pipe failure and steps to protect your home before the next freeze. This gives every homeowner a plan for the next hard freeze season.